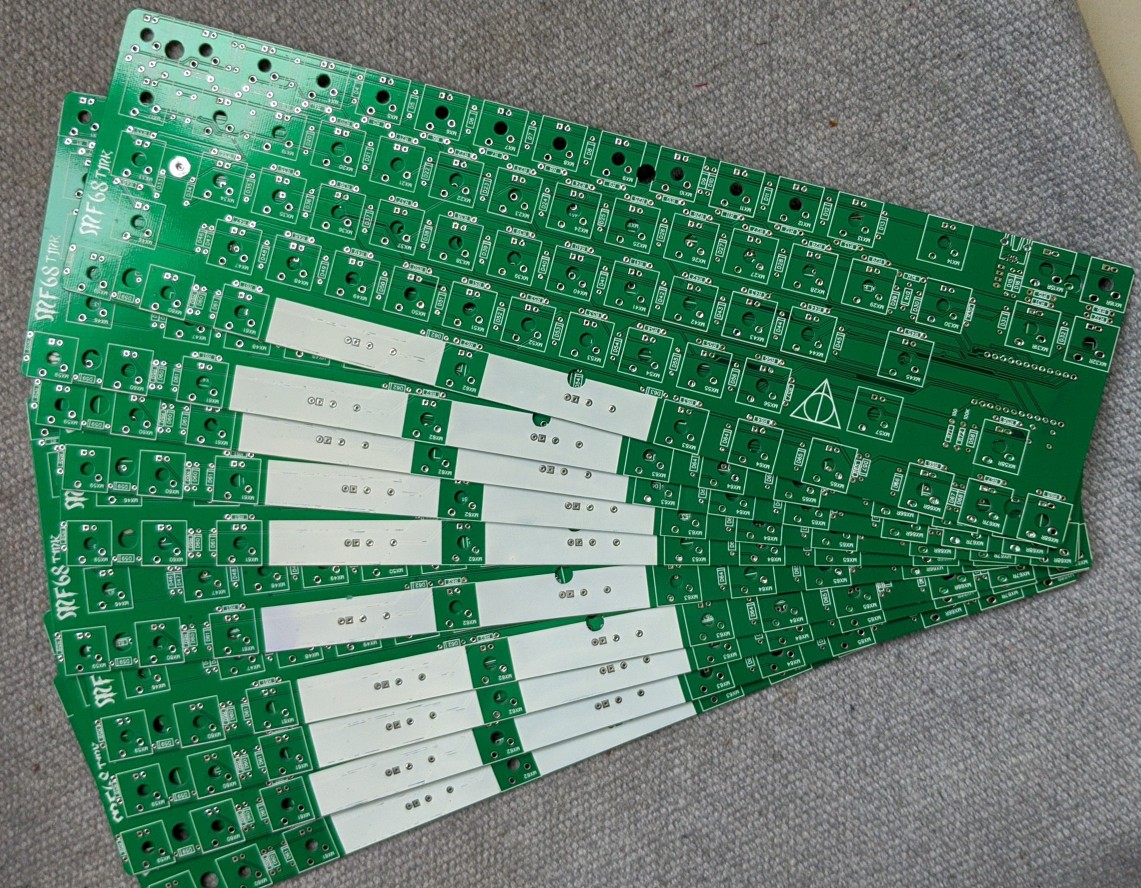
I’m starting the process of fabricating PCBs and cases for a 68 keys mechanical keyboard. While I don’t have much to show for it right now, you can quickly check out the upstream / original project at 68keys.io.
The PCBs are being manufactured by Lion Circuits here in Bangalore. The cases will be laser cut and will be available in acrylic and MDF (ie. wooden). The switches will be either Cherry MX Clear (tactile), Blue (clicky) or Zealios from ZealPC.
I’ll post updates, production samples and pictures here as things start materialising. Once I have have the production details lined up, it should be possible to place pre-orders for the keyboards as well.
I plan to customise the PCB and case to accommodate rotary encoders, speakers, OLED displays and more.
Hi, after seeing Launch by System 76, I have recently developed an interest in programmable keyboards. That being said, I am eagerly waiting for a similar product by Libre Tech Shop.
Any chance of offering the keyboard with RGB keys?
The PCB design shared as a part of the 68keys.io project was exceptionally good and useful. With minor adjustments on the side of the PCB manufacturer.
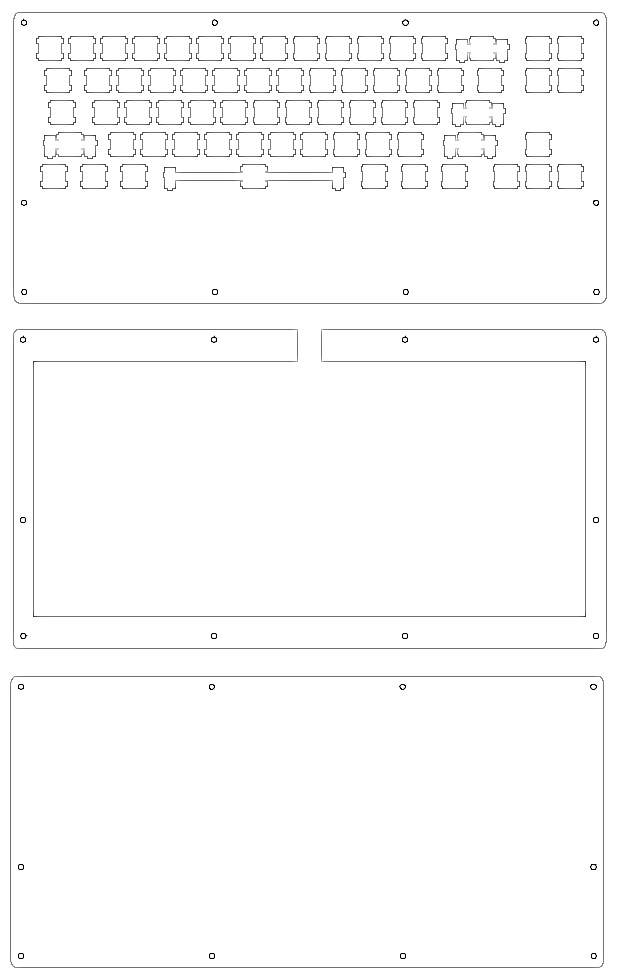
The Plates
The next step is to get the plates made. One of the simplest ways of making a keyboard is to build a “sandwich case”. That includes a switch plate on the top, spacers in the middle and a plate at the bottom. Here’s what the SVG vector design looks like (design was output using the builder.swillkb.com service).
I modified the SVG designs generated by the case builder above to include a very useful wrist rest. Unfortunately, its something that missing from most keyboard case designs.
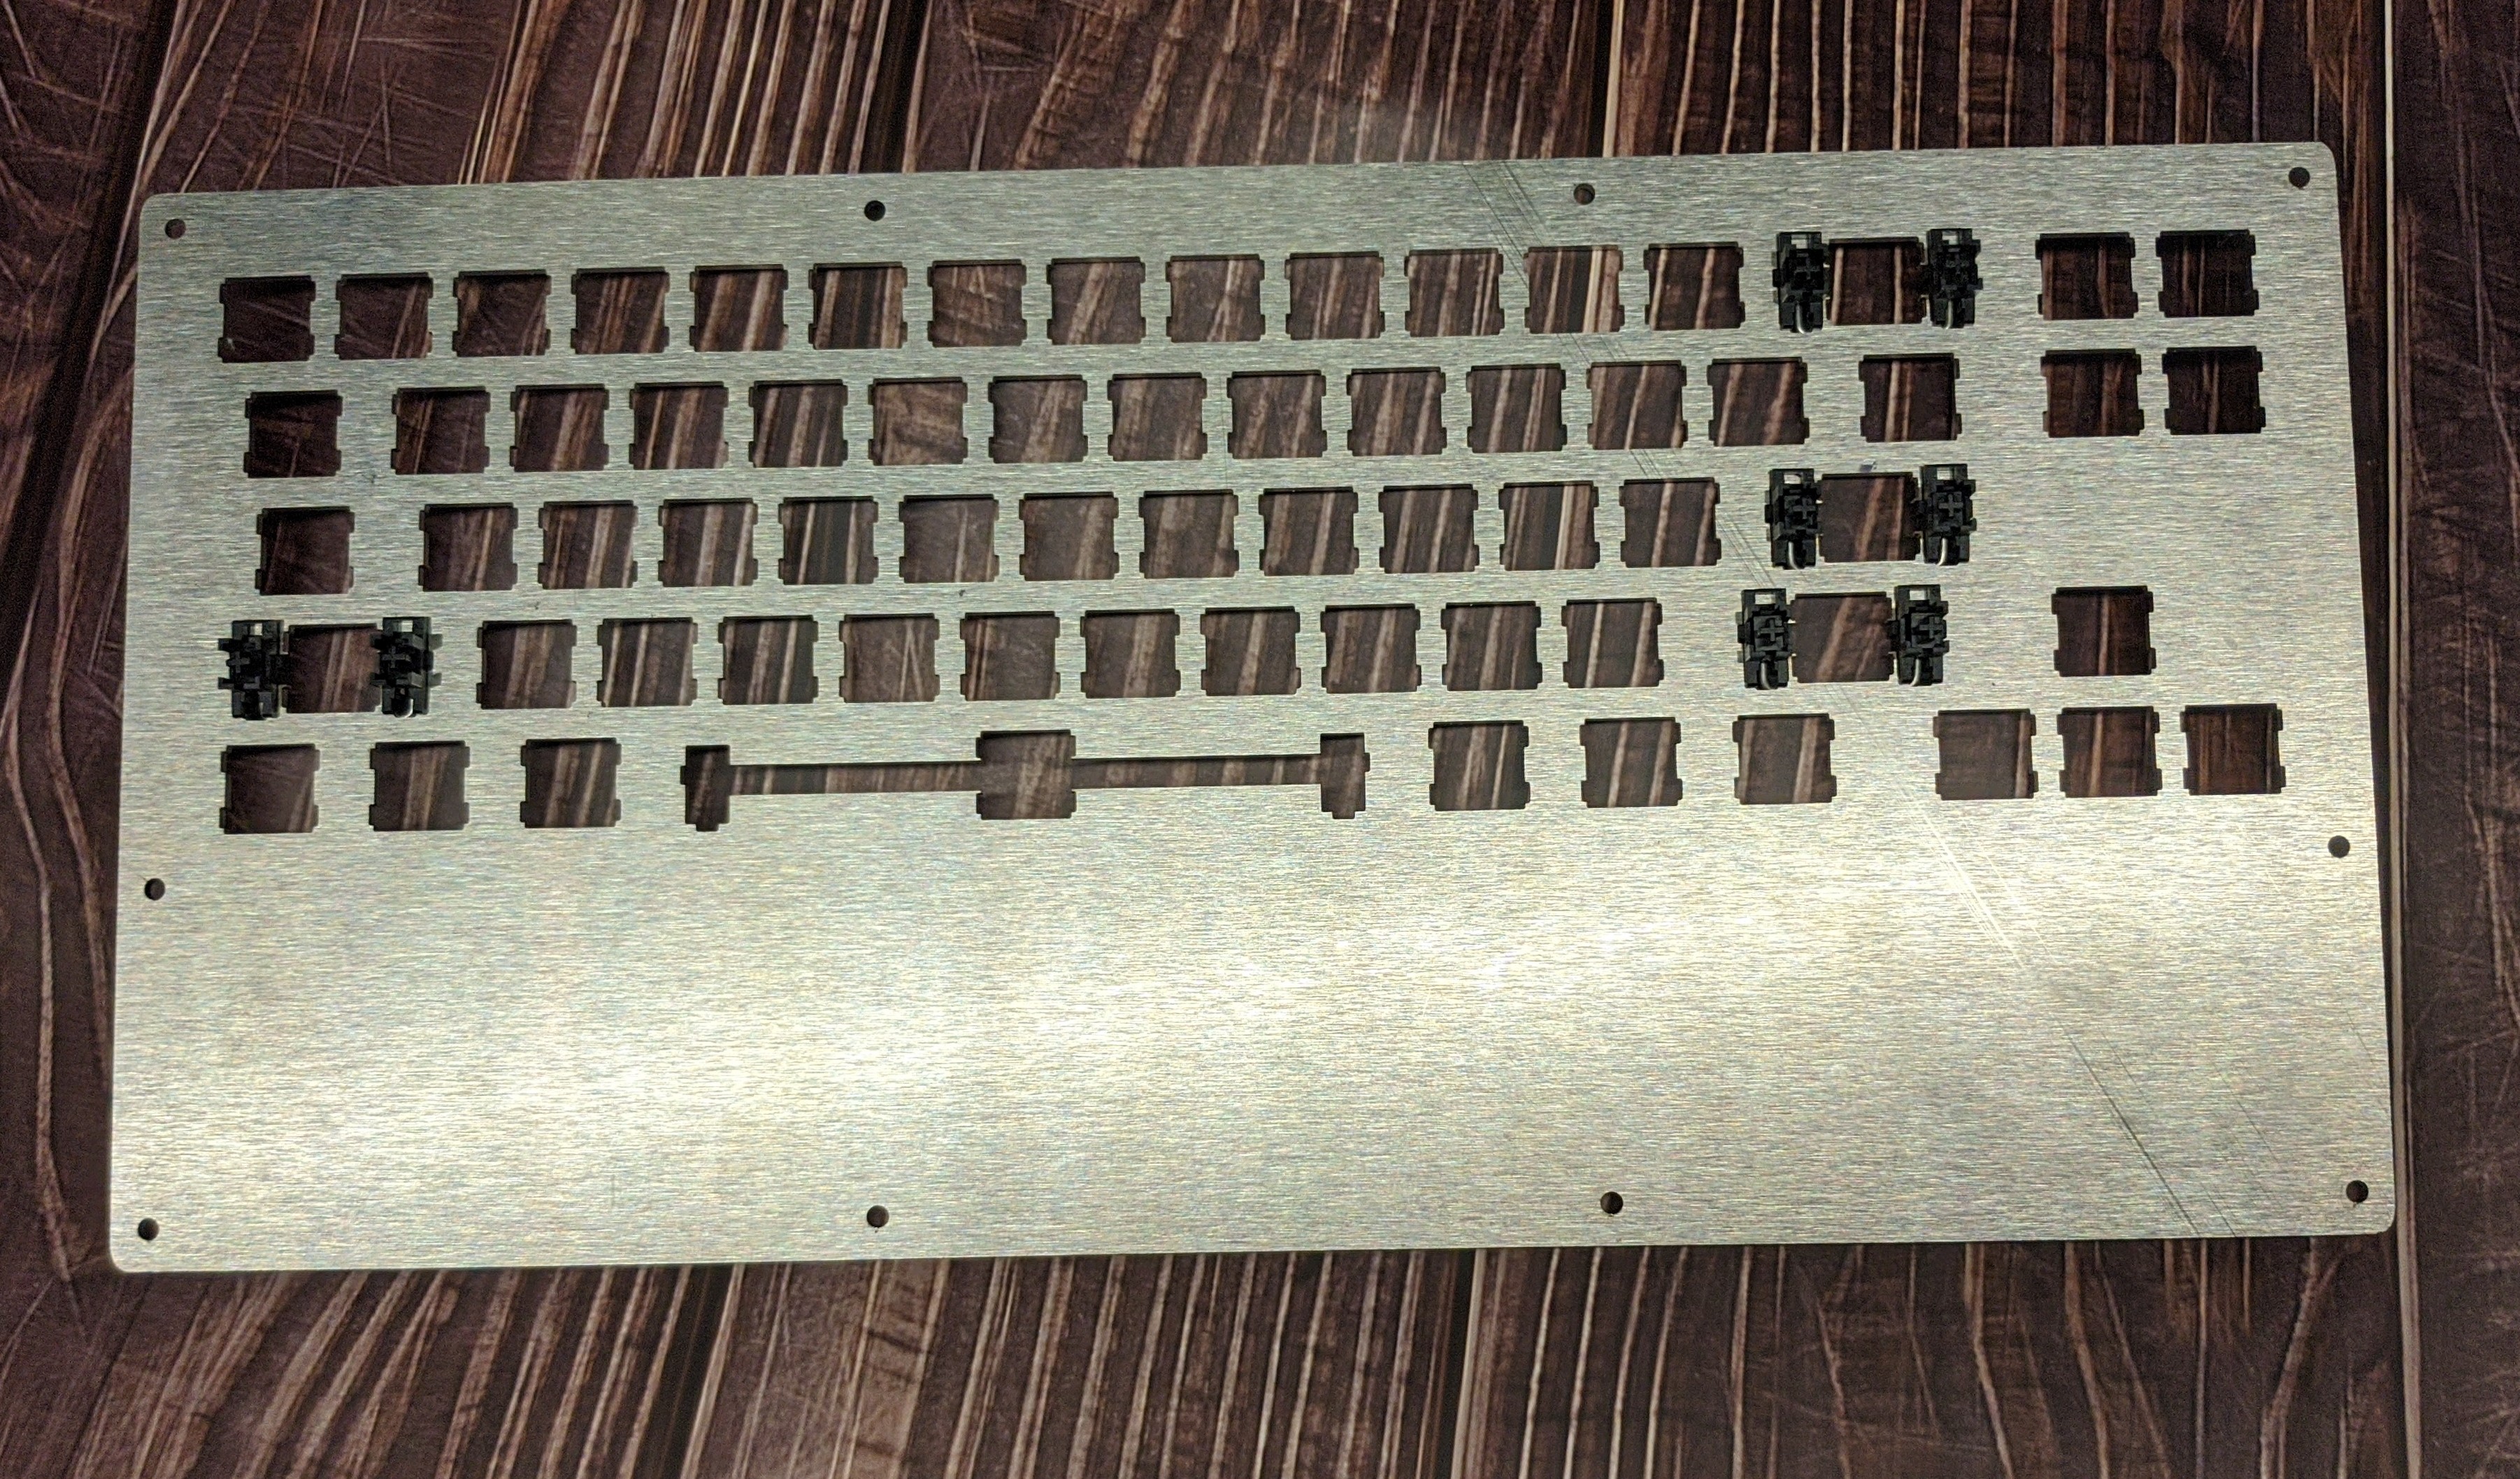
After much searching, I found a service provider who agreed to cut a couple of prototype plates. Most others wanted bulk orders. And many of them didn’t do laser cutting on steel. This is what the wonderfully and accurately cut plates look like with a brushed metal finish in stainless steel:
The plates are 2mm stainless steel and that makes them very heavy! In fact the entire keyboard is almost as heavy as a laptop. The next prototype will be lighter with 1mm or 1.2mm stainless steel plates.
Next Steps
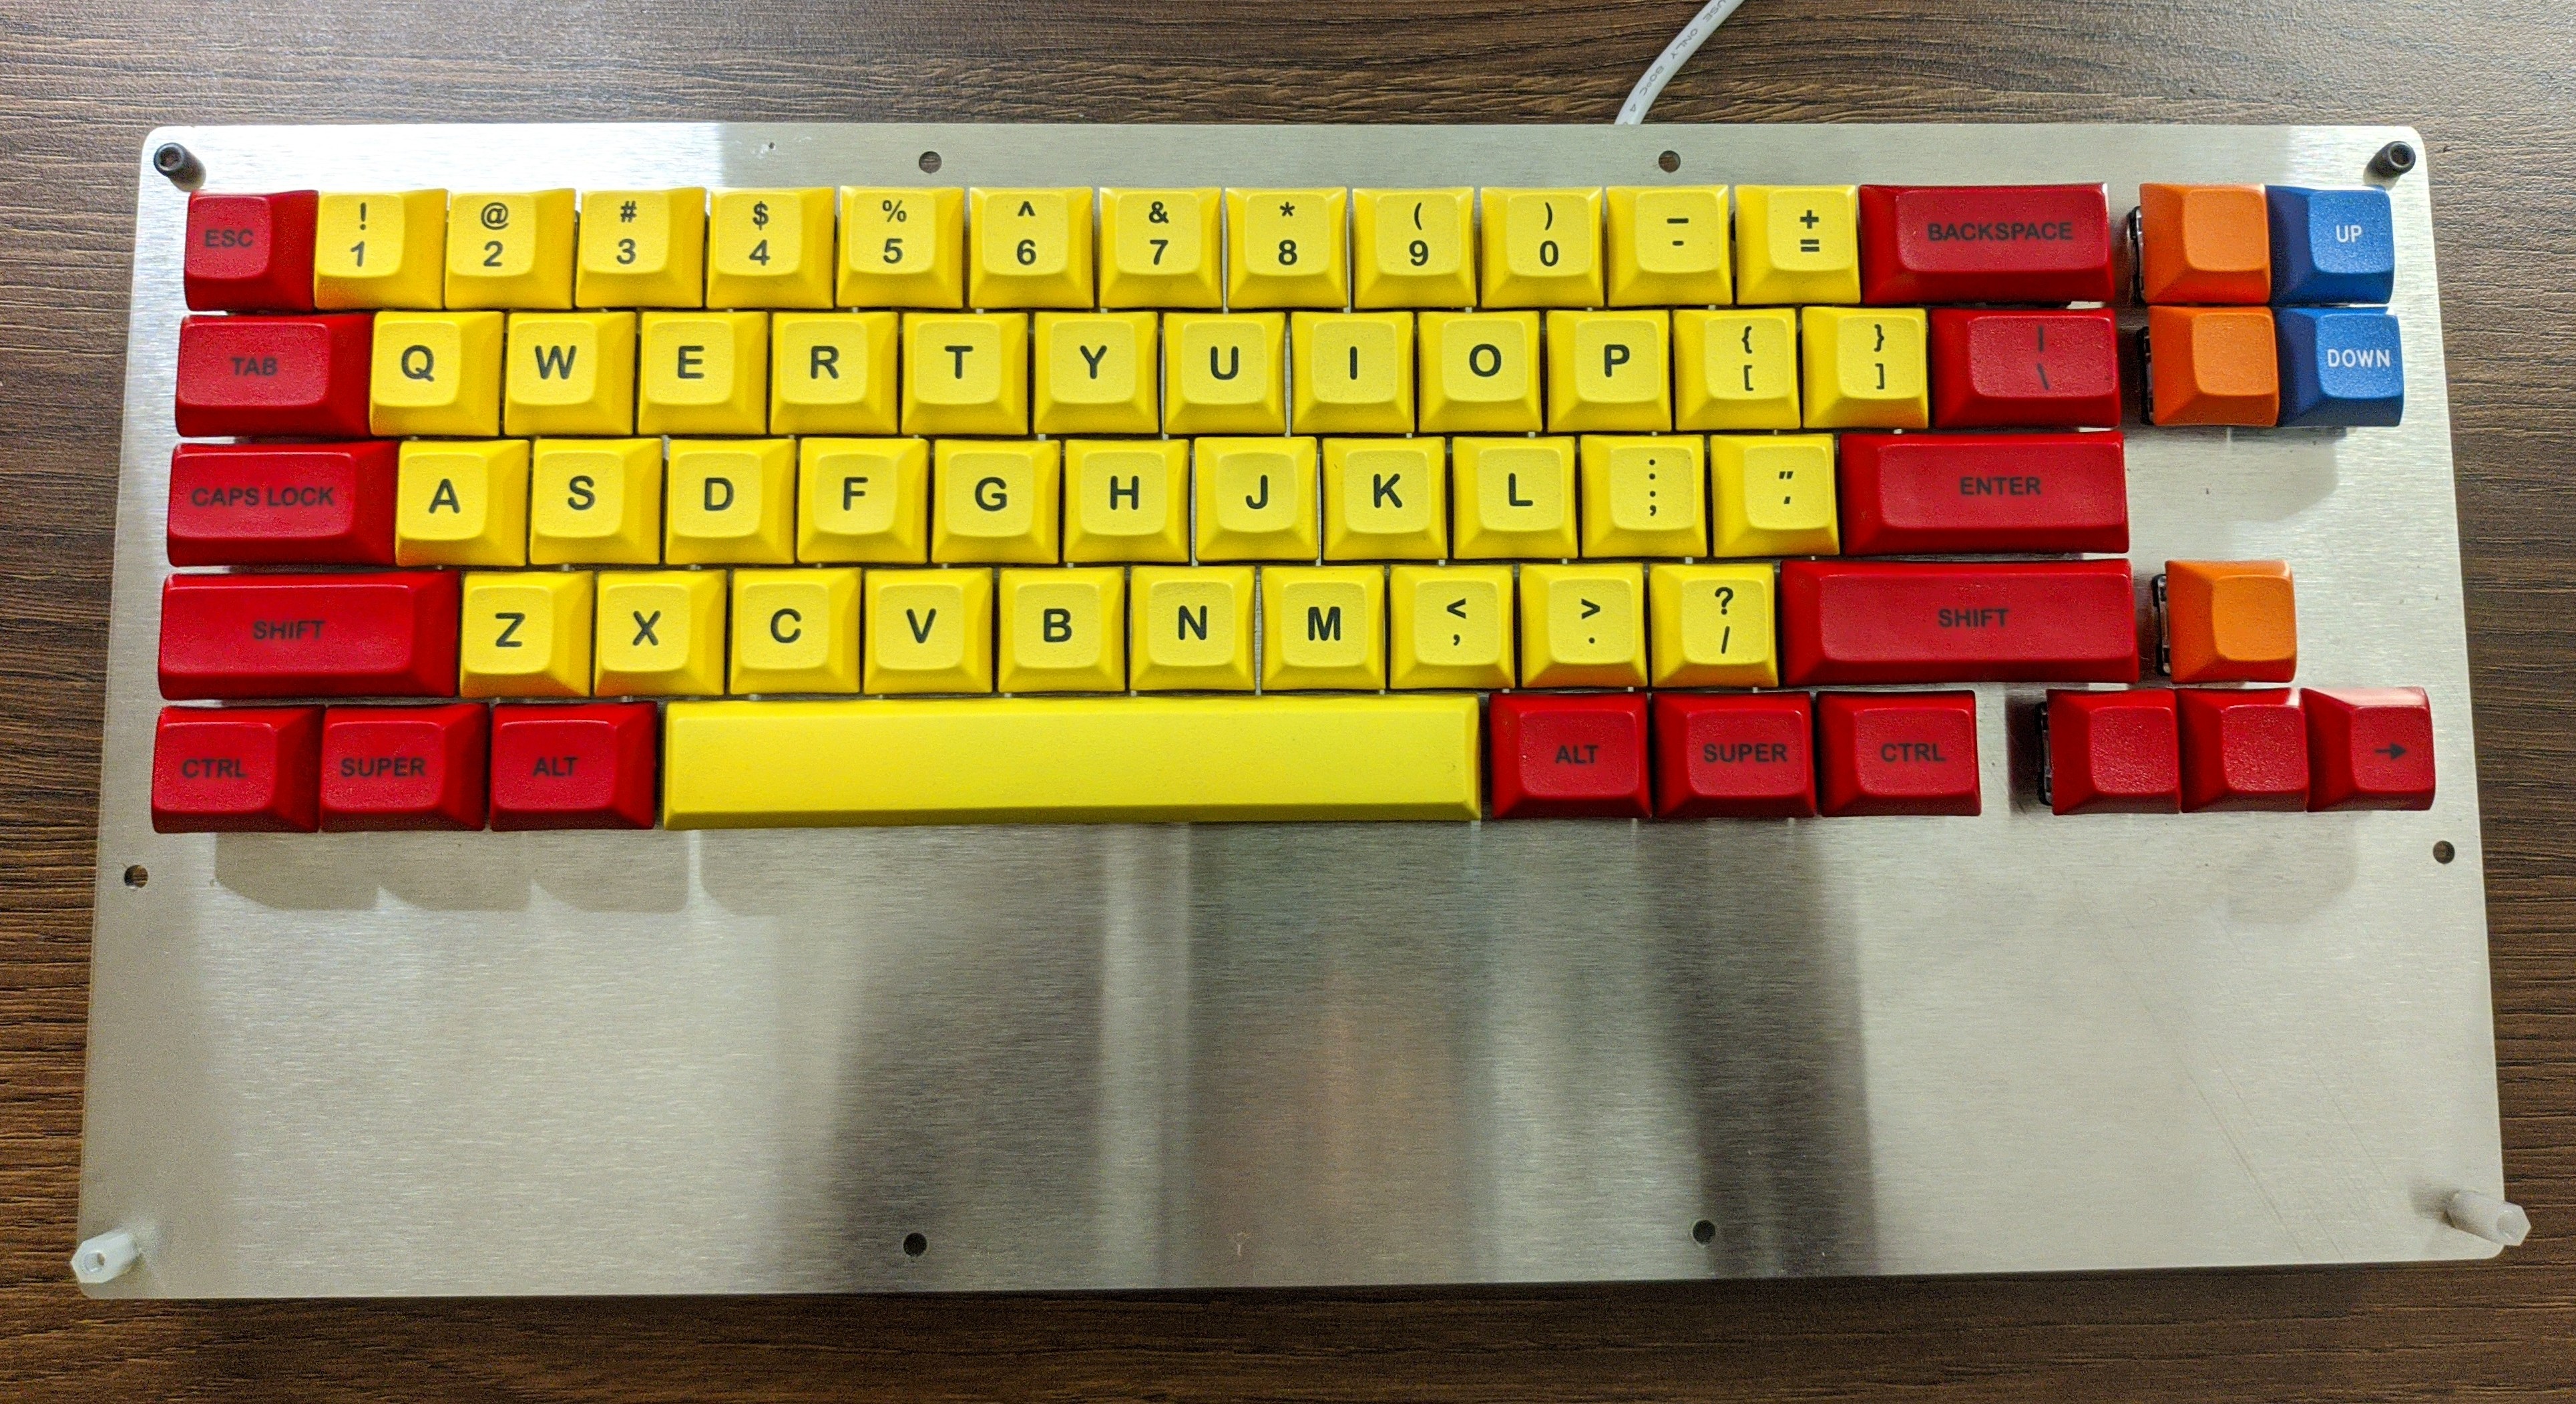
However, the keyboard is working now. And so the last step before it can be usable by all of us is to cover all the pending rough edges:
Acrylic spacers
RGB backligting
Stand-offs and M3 screws to hold things together
(Non-Slip) Feet for the keyboard (also so that it has a gentle tilt)
I have Cherry MX Blue switches in stock now and will use them for the next prototype. Lets see how that turns out. Remain posted for updates here!
The PCB (as designed and shared by the 68keys.io project) does support in-switch LEDs. In-switch LEDs are the simple single-colour ones, though.
Most keyboards which have RGB LEDs have them in the SMD (ie. surface mount) format on the PCB itself. I think I will attempt that once I learn enough about designing PCBs myself!